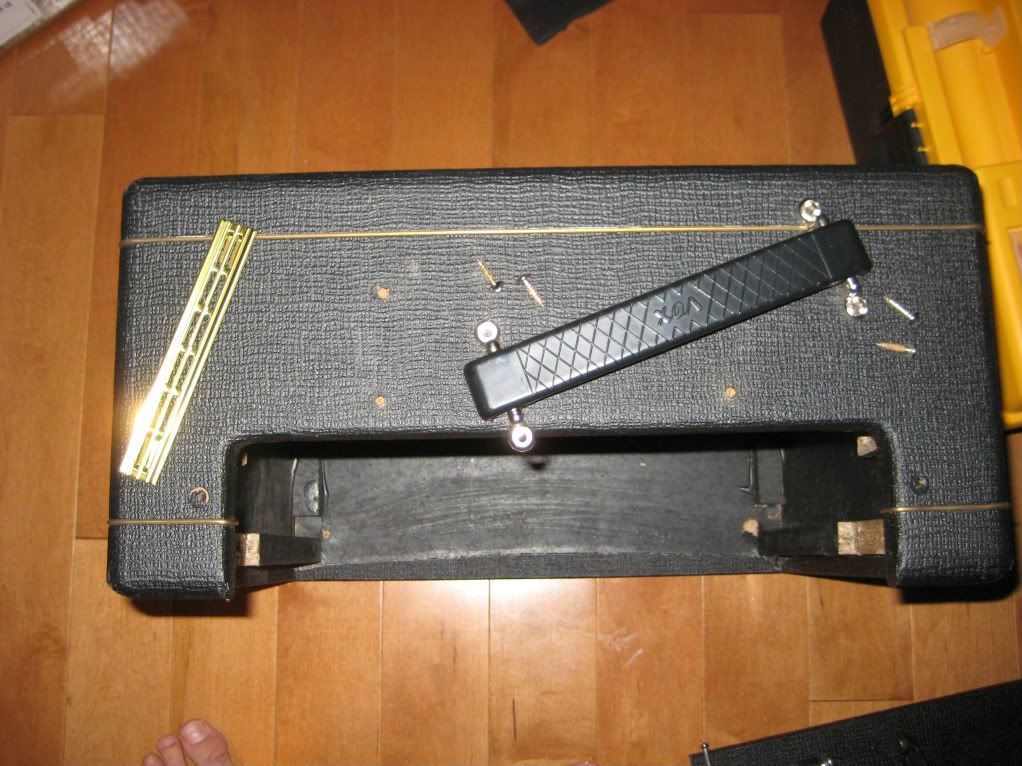
This is the part where if you screw up, everyone's going to notice because IT'S VISIBLE. Your sketchy wiring, crappy parts, make shift sockets...all that stuff you can hide away inside the cabinet. There's no hiding this though.
Tools I used:
- Drill and drill bit set up to 1/4"
- Wood files (Rasp works really well)
- Utility Knife
- Square
- Chisels
- Hammer
The before surgery shot.
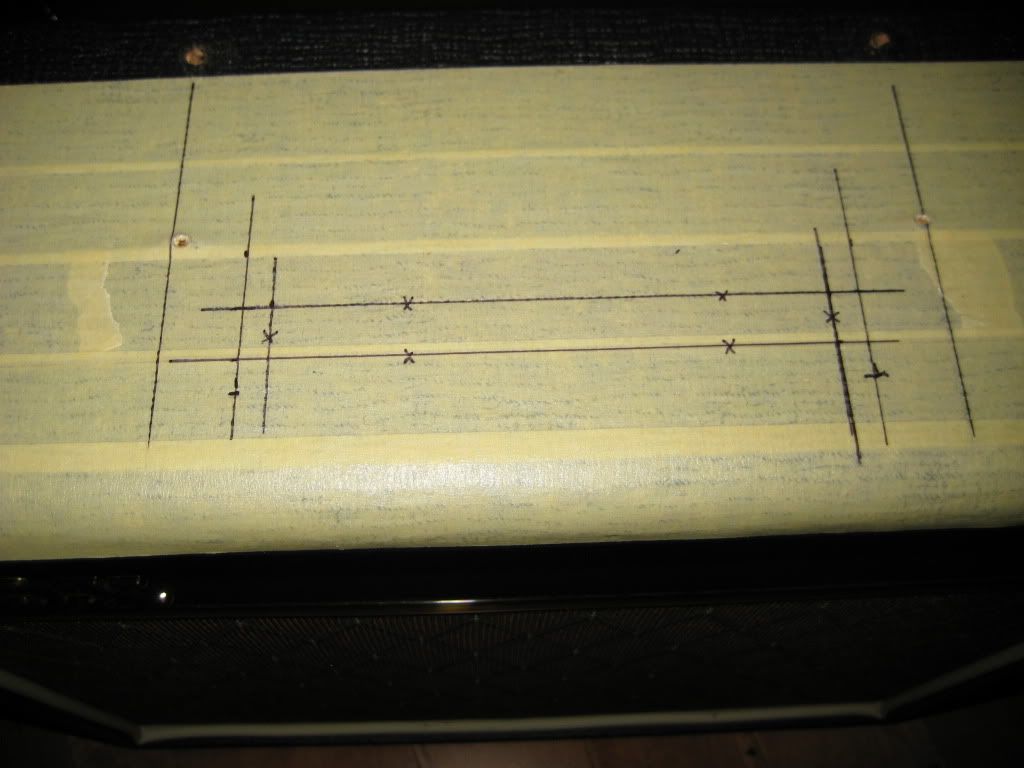
All marked up and ready to go under the knife. I've planned for the edge of the vent to overlap the gold decorative tubing but not more than it has to. Again, the masking tape is to protect the area around where I'm working but so that I can also see where I need to cut.
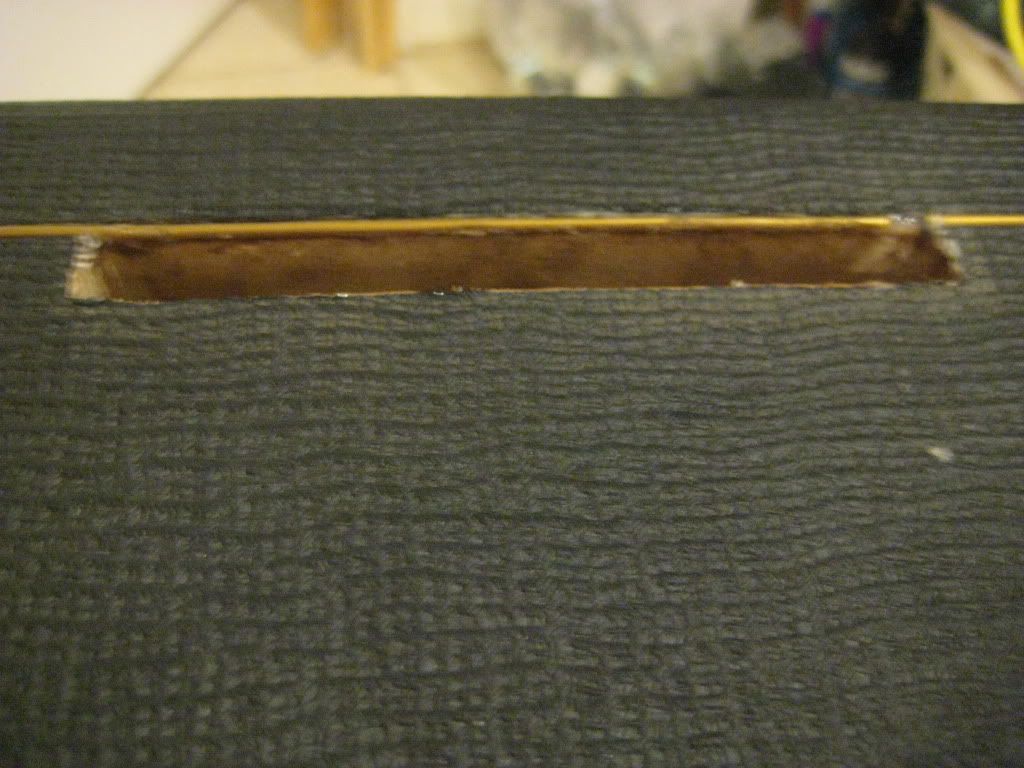
Surgery begins by cutting back the black tolex/vinyl outside. Just need to make the centre line again and drill along that.

From there, it's just taking the file and working until you're happy with the fit and the vent size. Patience is very important here. I accidentally cut into the decorative gold tubing and it came right off. I managed to glue it back in place with some clear silicone based adhesive that's made for kitchen and bathroom use. So it sticks really well to plastics, wood and metals.
Looks good until you zoom out and realize...

This vent sits right in between the handle brackets so you REALLY want it to be symmetric with it. It turns out I was 1/16" off my mark and even that was enough that my eyes caught it. Obviously I had to fix it now that I noticed it.
After I made the slight adjustment, I glued it in place with the silicone adhesive I used on the piping. Can't use too much otherwise it will seep through the cracks and you'll never be able to clean it off. So use it sparingly.

Clamps off and things look absolutely amazing!

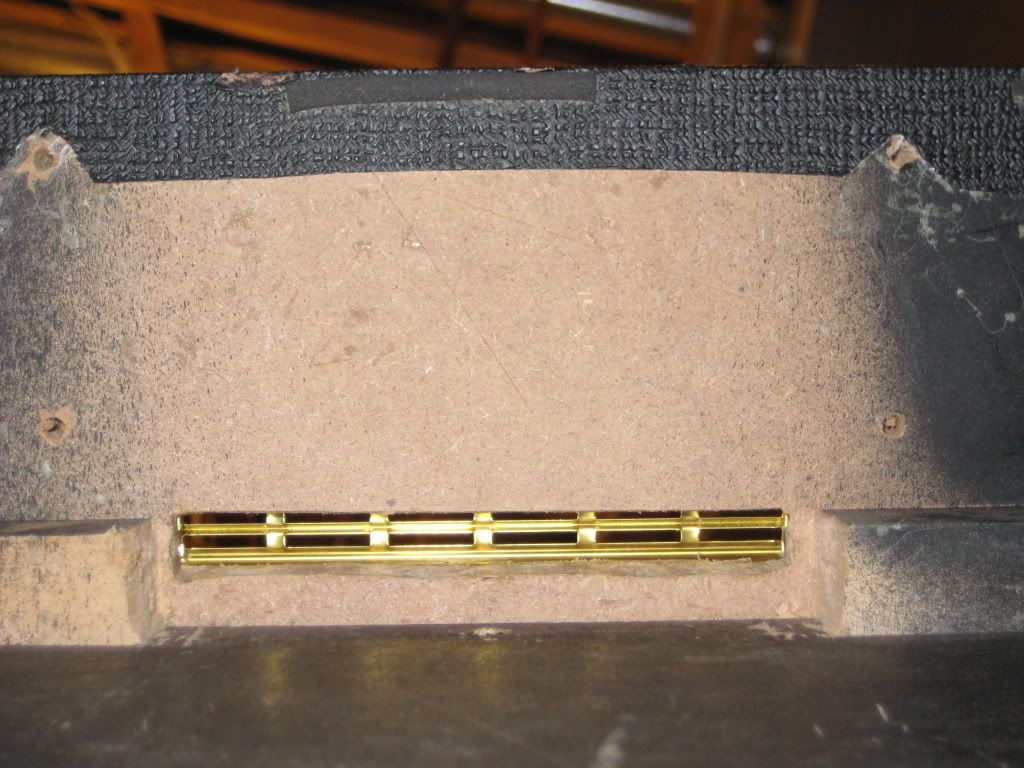
From the inside looking out, I had to take a good chunk out of one of the braces to make room for a potential fan I might have to install. I wanted a nice flat, clean looking area for fans in case I need one. Hammer and chisel served their purpose to do that.
No comments:
Post a Comment