Tools I recommend having are:
- Drill Bits (1/2" drill bit and then a set with pieces from around 1/16" to 3/8" would be good)
- Bi-Metal Hole Saws ( 3/4" and 1" are ideal. 7/8" and 1 1/8" also work)
- Files (Metal files, all shapes and sizes are nice to have around)
- Punch (A nail would also work)
- Corded or Cordless drill.
- Clamps (Holding your work in place is never a bad idea)
- Utility Knife
Something optional might be a jigsaw or even a rotary tool (Dremel tool).
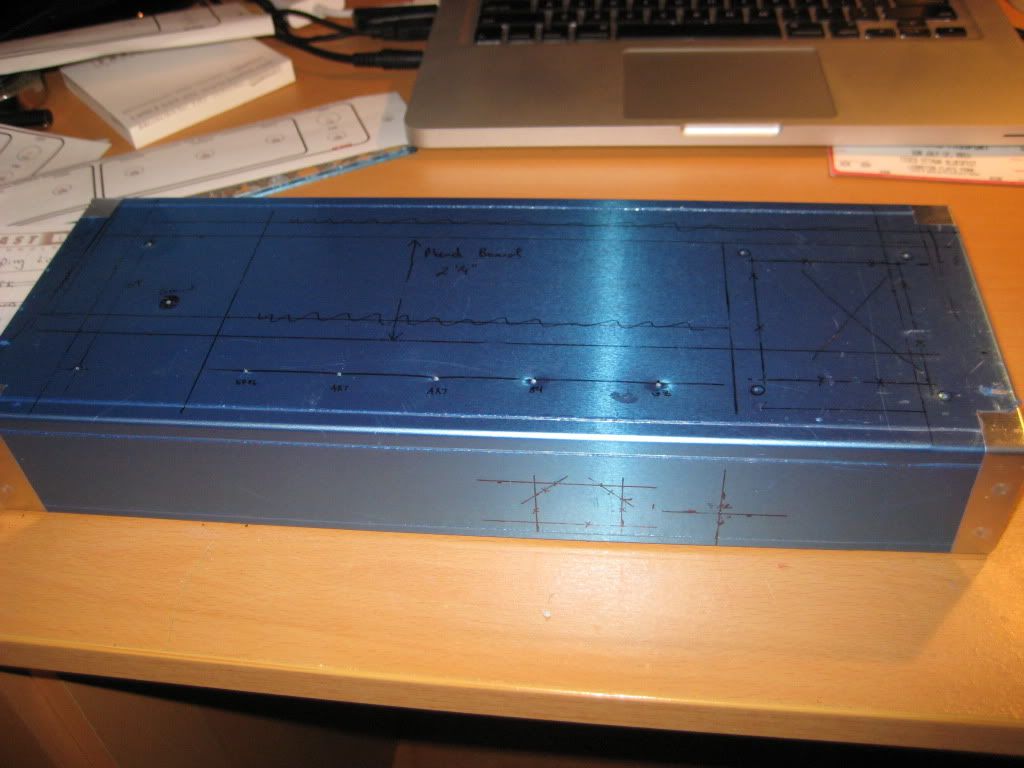
Anyways, I started things out with a quick layout (I ended up scrapping the choke for my design).

From there, I drew things out on my chassis with a Sharpie. I marked where the holes for my power transformer, output transformer, tube sockets, AC power, fuse and where wires needed to pass through. At the centre of each hole, I made a quick little index with the punch to stop the drill bit from wandering.
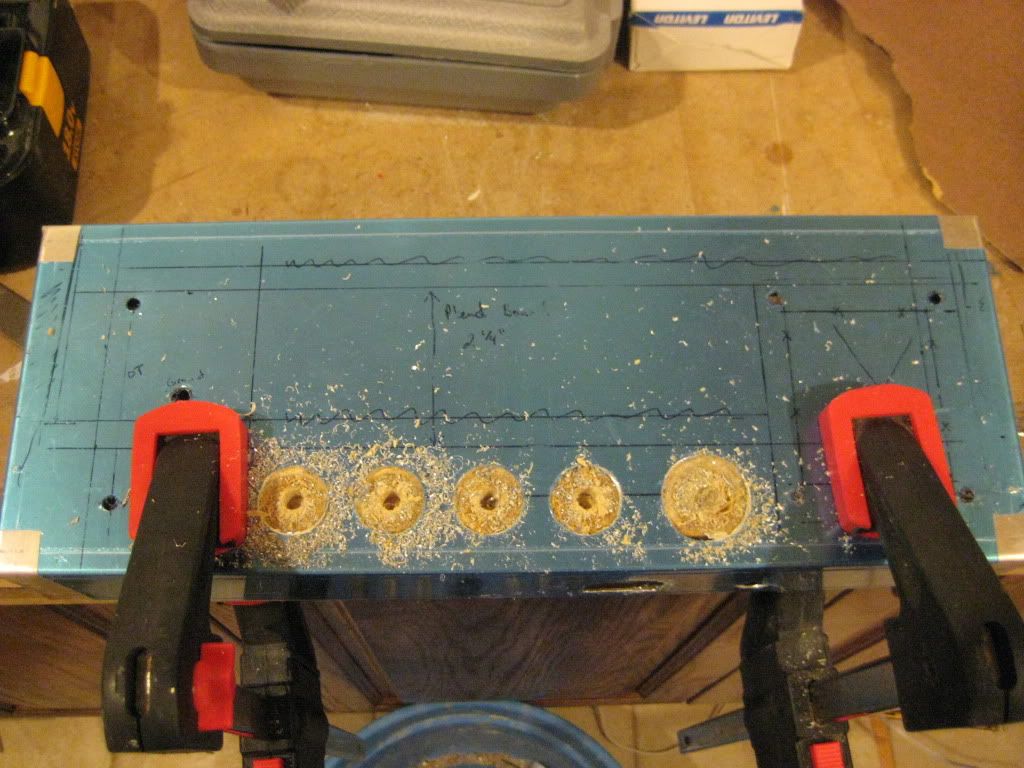
Always good to have a piece of wood under where you're working. Makes clamping, drilling a whole lot easier and safer.

Cutting out the tube sockets was pretty straightforward, just using a 7/8" hole saw for the 9-pin sockets and the 1 1/8" for the 8-pin.
Weird shapes like the IEC plug took a bit more time. I first traced the cutout with drill holes, knocked out the piece with a hammer and then filed it down.
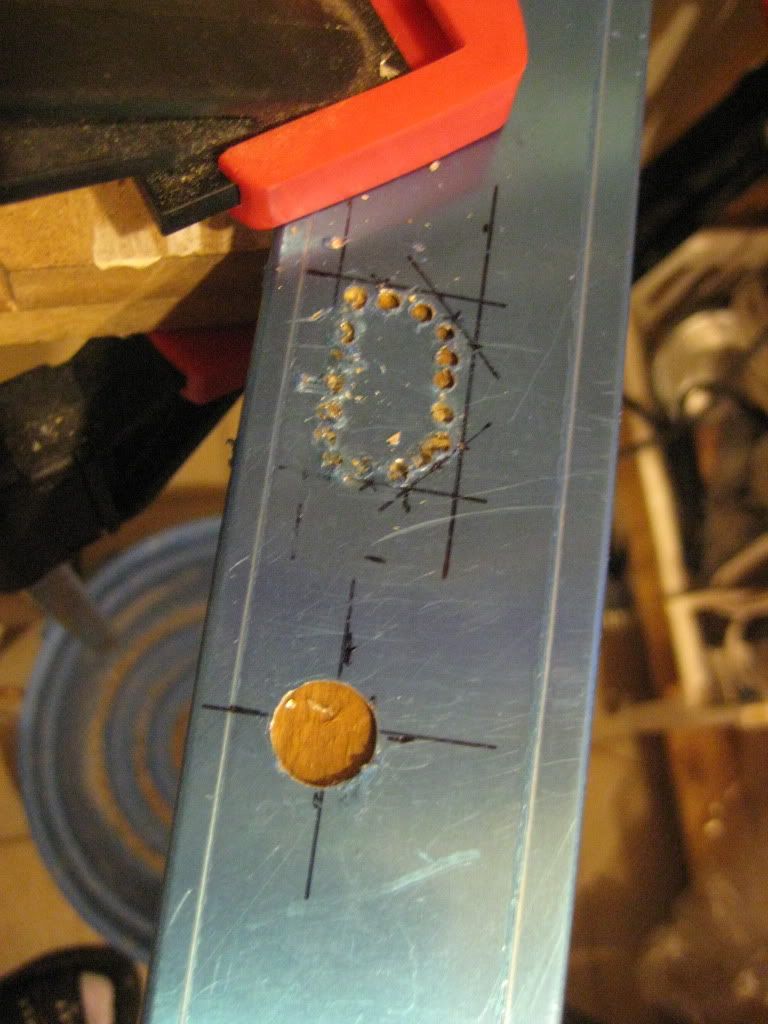
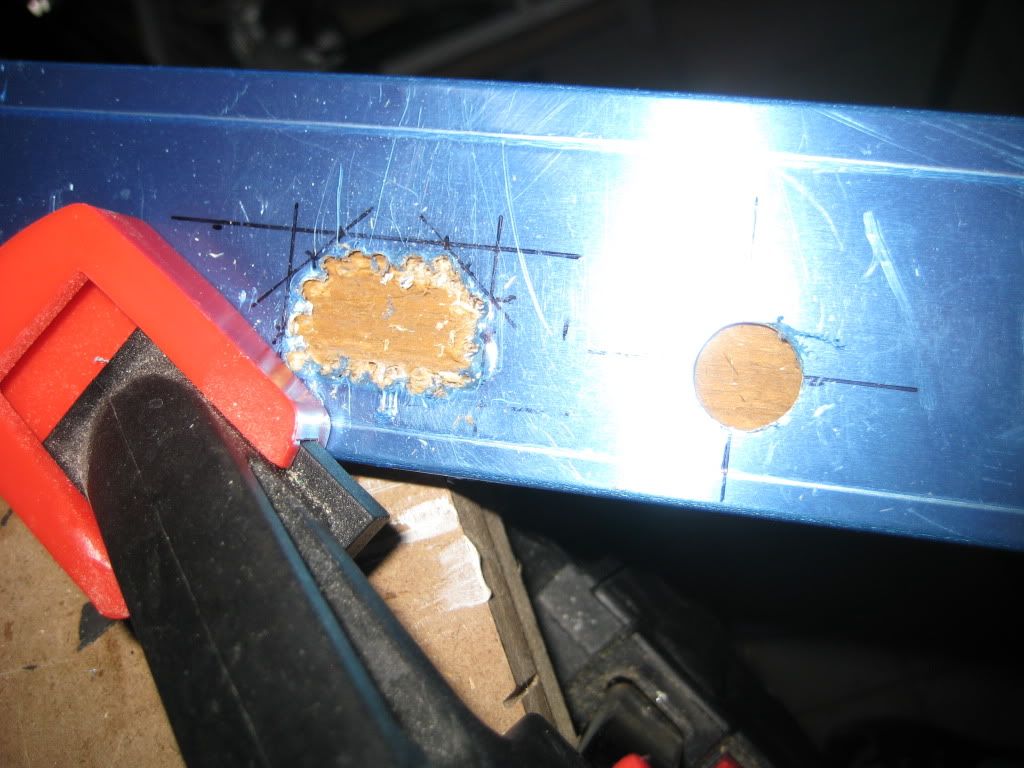

Worked so well that I actually did the same thing for the power transformer cutout instead of using the jigsaw.
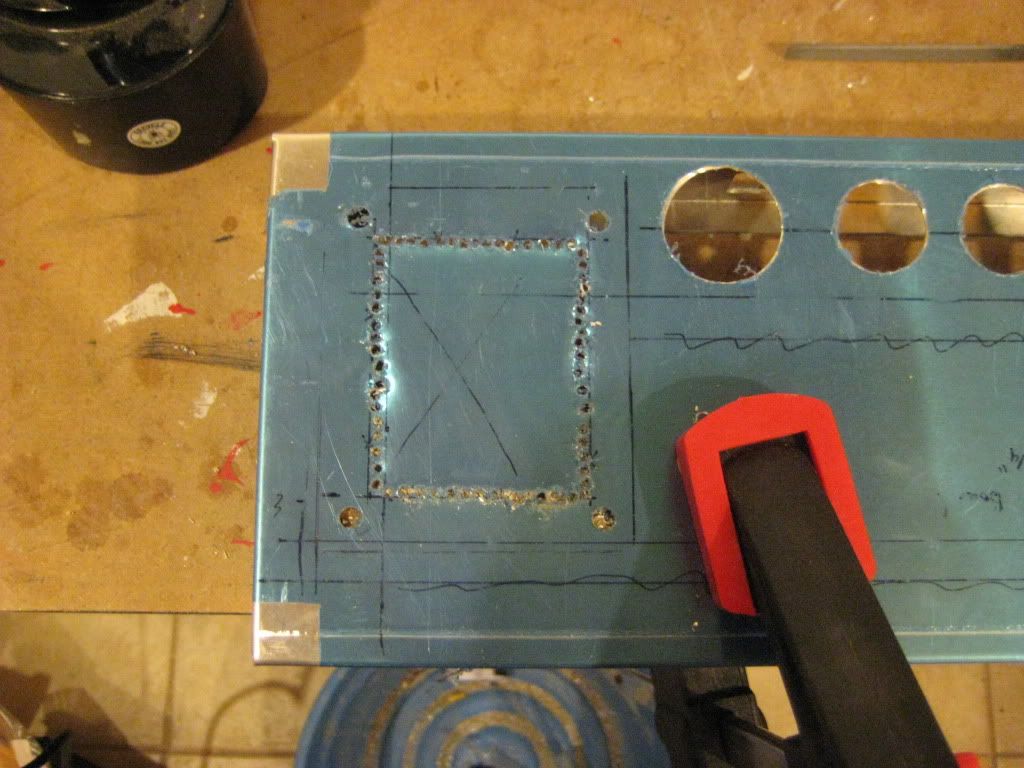
I probably should have used the jigsaw on this one...
Going to the front panel where the pots, jacks and good stuff is mounted; I took the printout of my faceplate and taped it onto the chassis. Super easy to punch the hole starting points since I marked the centres in Inkscape previously.

After you've made a hole, always a good idea to pass a file, a knife, a de-burring tool to take off the sharp edges on the aluminum. Parts might not sit flush with the chassis later on if you don't or you could take a good chunk out of your hand... Not sure what's worse, pain or imperfection?
Anyways the results!
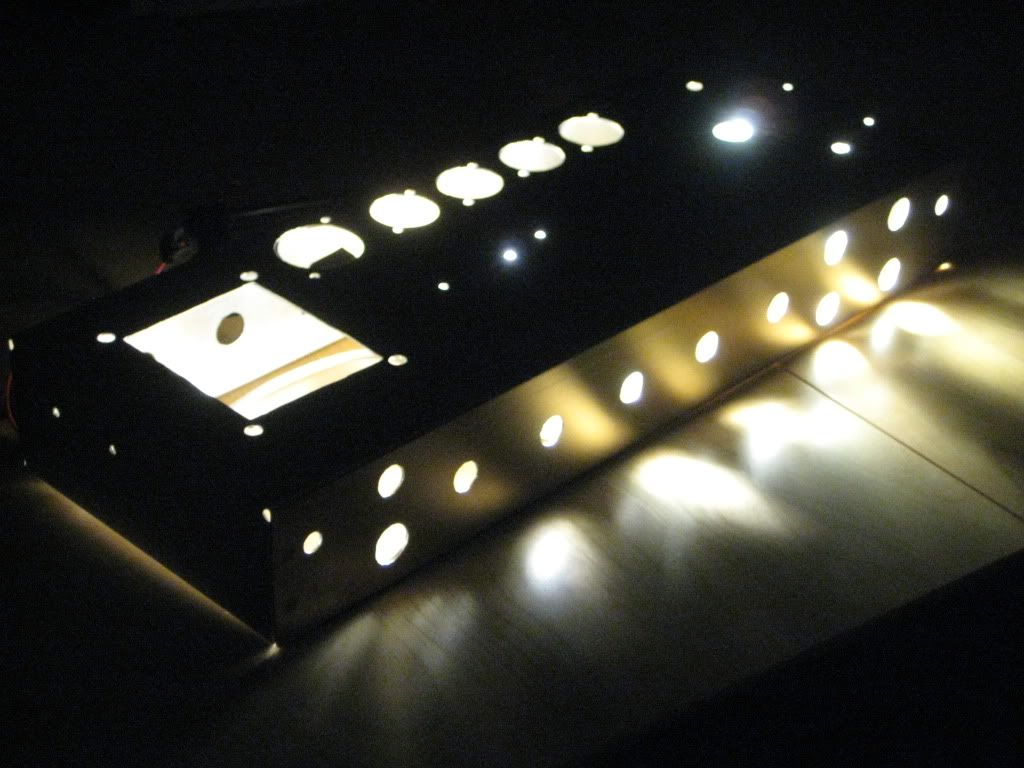
Sorry! I had some super bright LED's kicking around and couldn't resist!
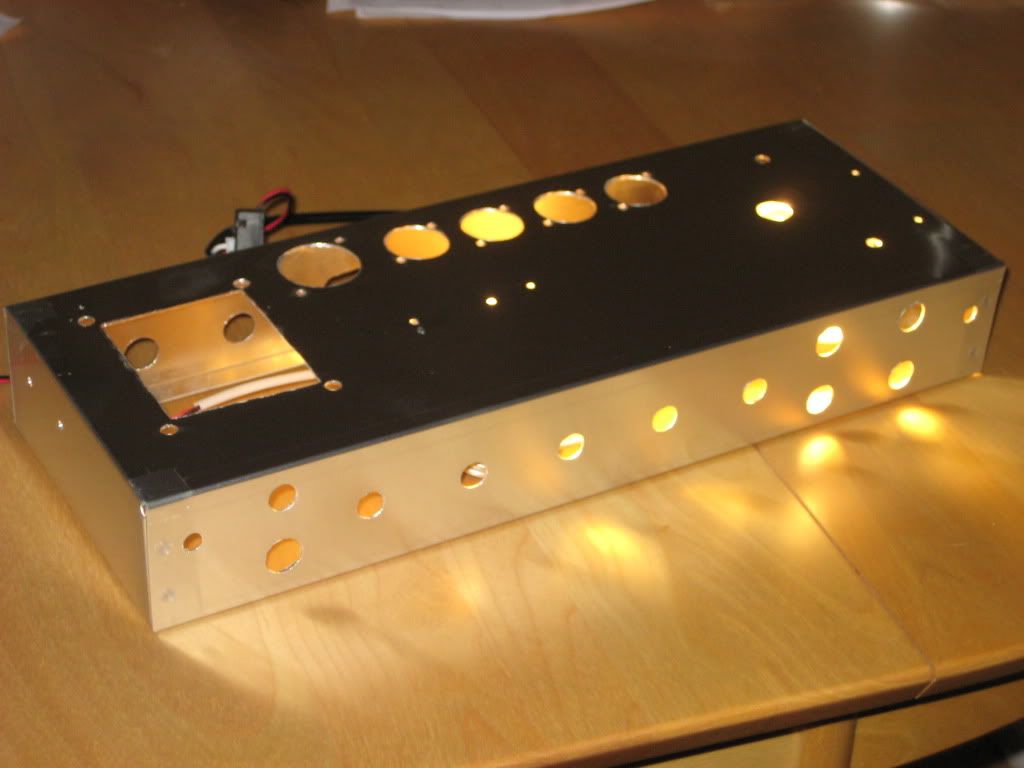
Lots of random screw holes for mounting parts. Don't forget to check datasheets for how large the cutout needs to be components. And always error on the side of being too small. It's easier to take more off than to put more material on. Patience is key.
No comments:
Post a Comment